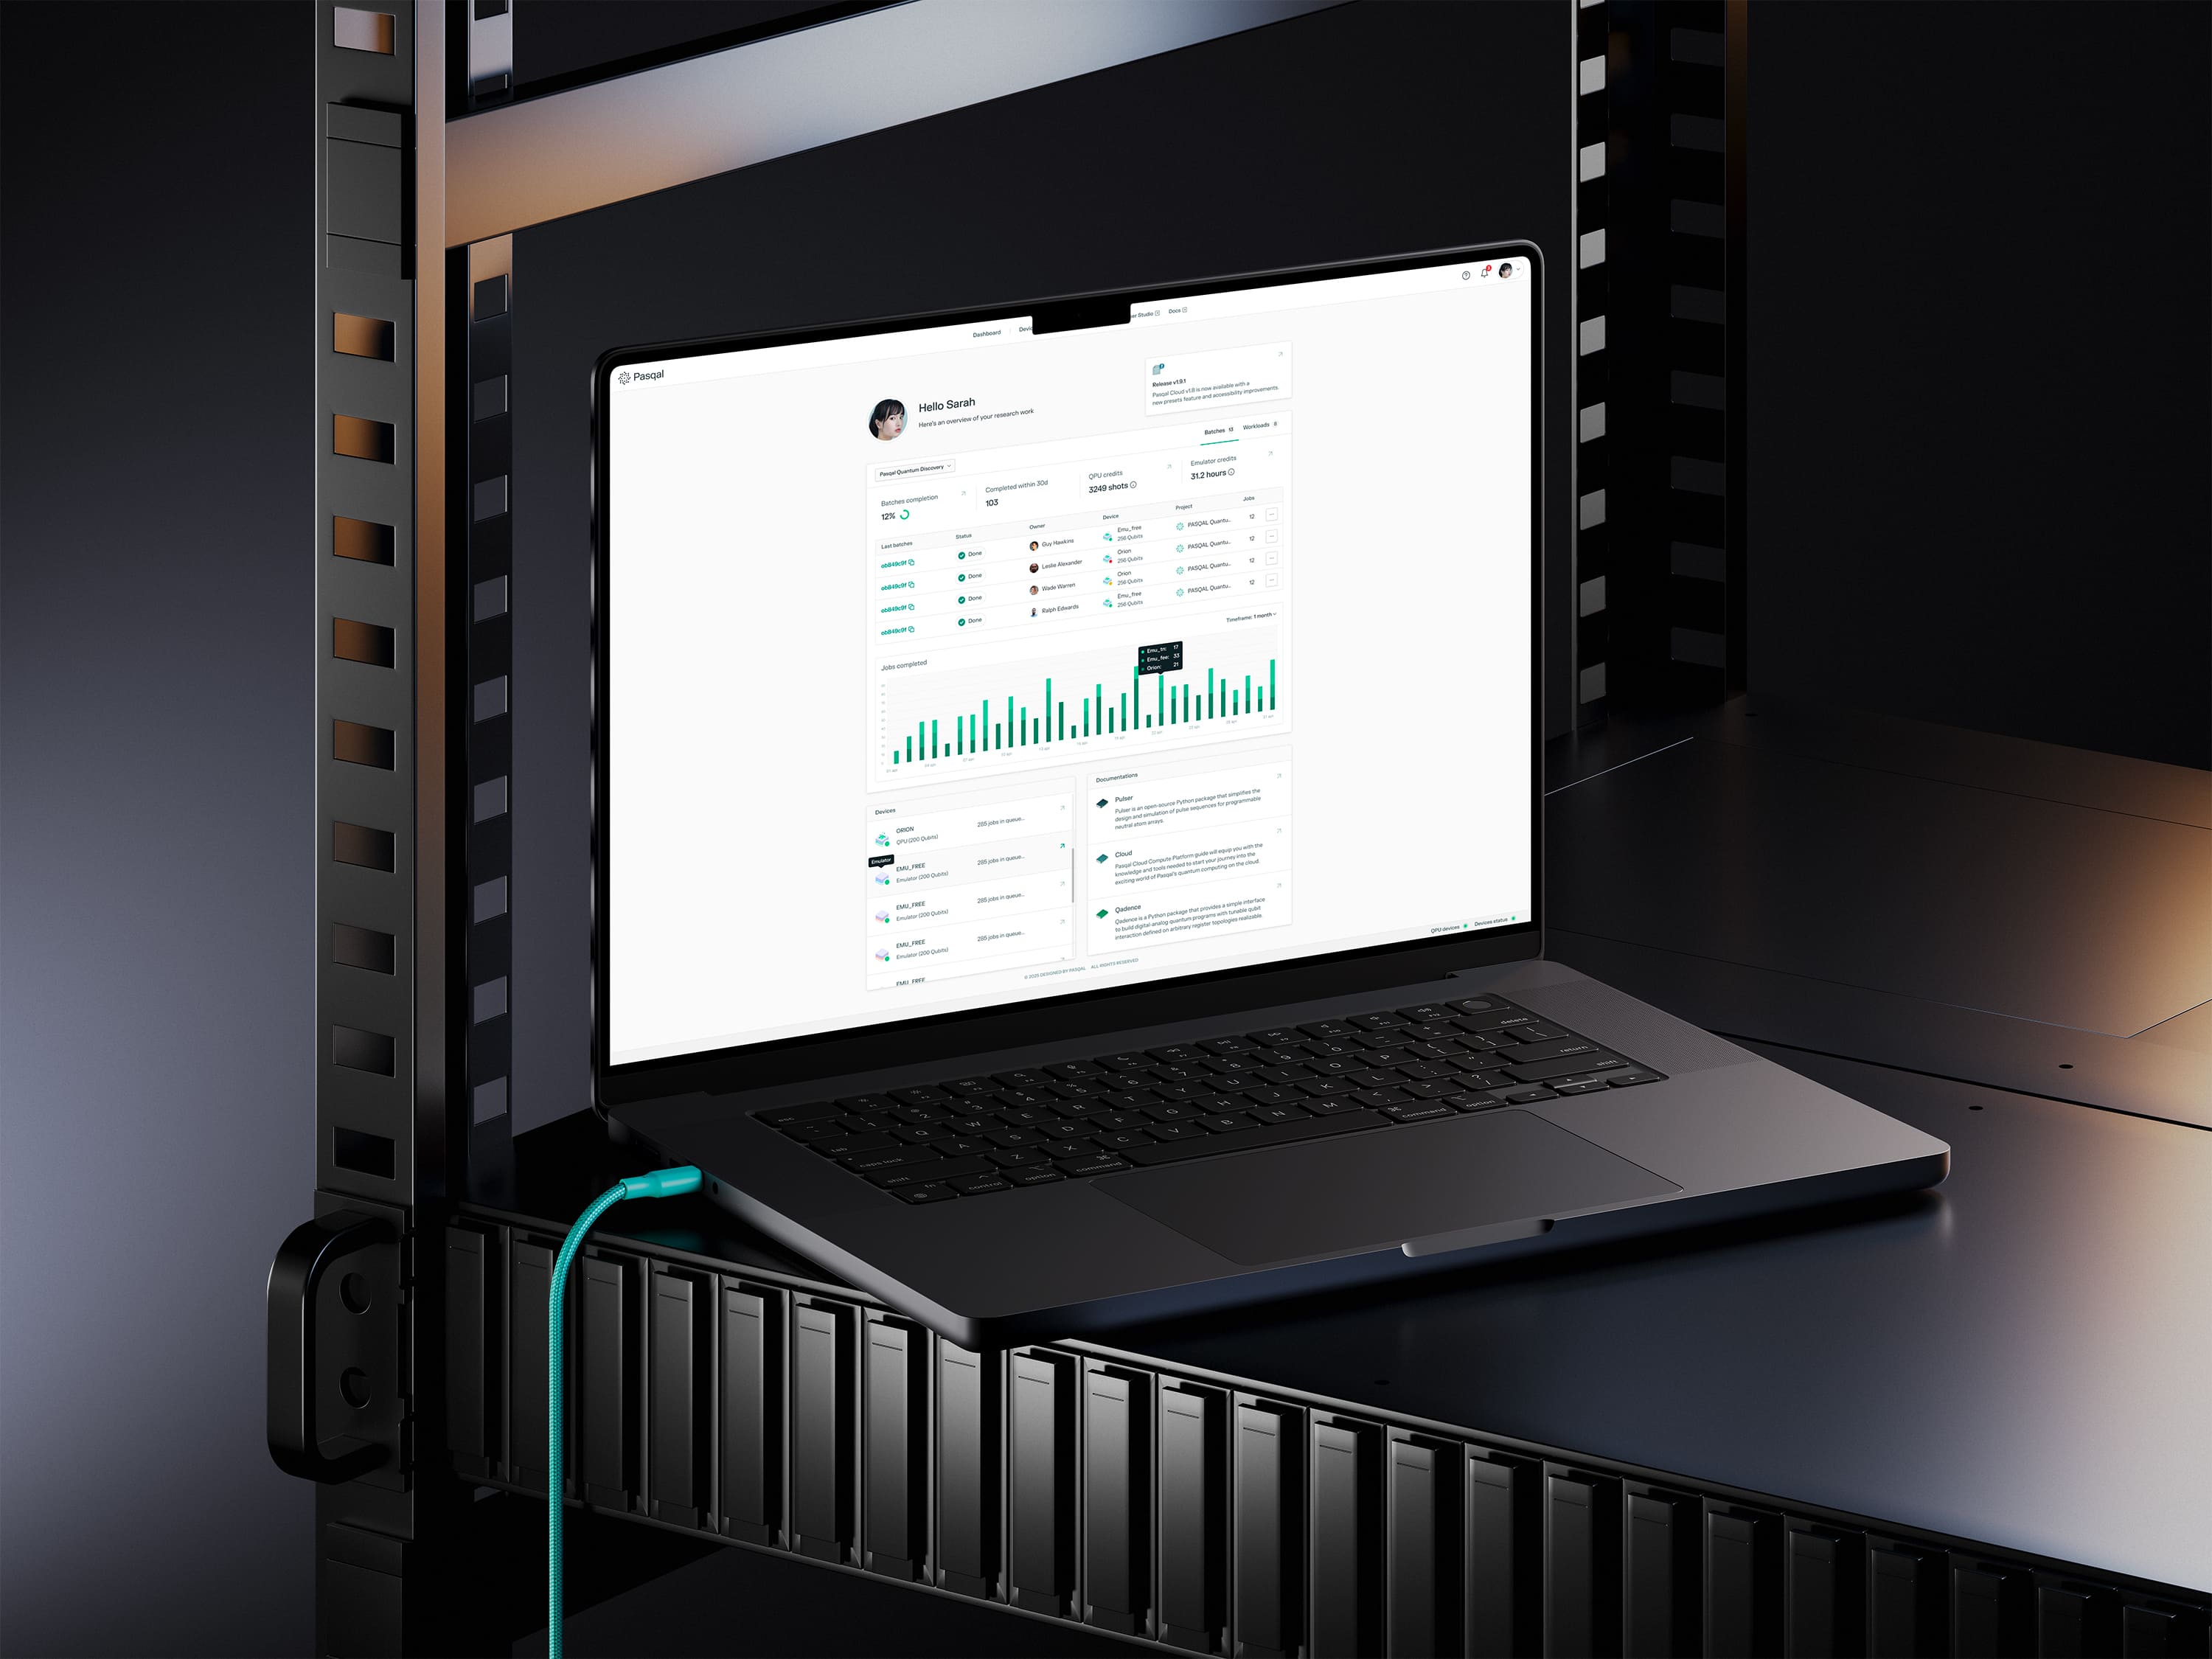
Google Cloud Marketplace
Pasqal Cloud is available through Google Cloud Marketplace (external) , providing seamless access to our neutral-atom QPUs. The Pay-as-you-go offer enables users to access Pasqal’s 100-qubit QPU with flexible, usage-based pricing integrated directly into their Google Cloud infrastructure.
This guide walks you through subscribing via Google Cloud Marketplace, creating your Pasqal account, and setting up a connection object in the SDK so you can submit jobs.
Available backends
Section titled “Available backends”Create an account and connection
Section titled “Create an account and connection”Follow these steps to subscribe to Pasqal via Google Cloud Marketplace, set up your account, and create a working connection object in the SDK.
Prerequisites
Section titled “Prerequisites”Before subscribing to Pasqal Cloud via Google Cloud Marketplace, you will need:
- A Google Account (you can create one during the process if you don’t have one)
- 2-Factor Authentication (2FA) enabled on your Google Account (you’ll be prompted to set this up if not already enabled)
- A valid payment method linked to your Google Cloud Billing account (required for pay-as-you-go)
Step 1: Access Google Cloud Marketplace
Section titled “Step 1: Access Google Cloud Marketplace”
- Open Pasqal on Google Cloud Marketplace (external) .
- Alternatively, go to the Google Cloud Marketplace (external) , search for Pasqal, and select the official Pasqal offering from the results.
- Review the product details, including features (e.g. QPU access, emulators, optimization tools), pricing (usage-based), and terms.
Step 2: Sign In and Secure Your Account
Section titled “Step 2: Sign In and Secure Your Account”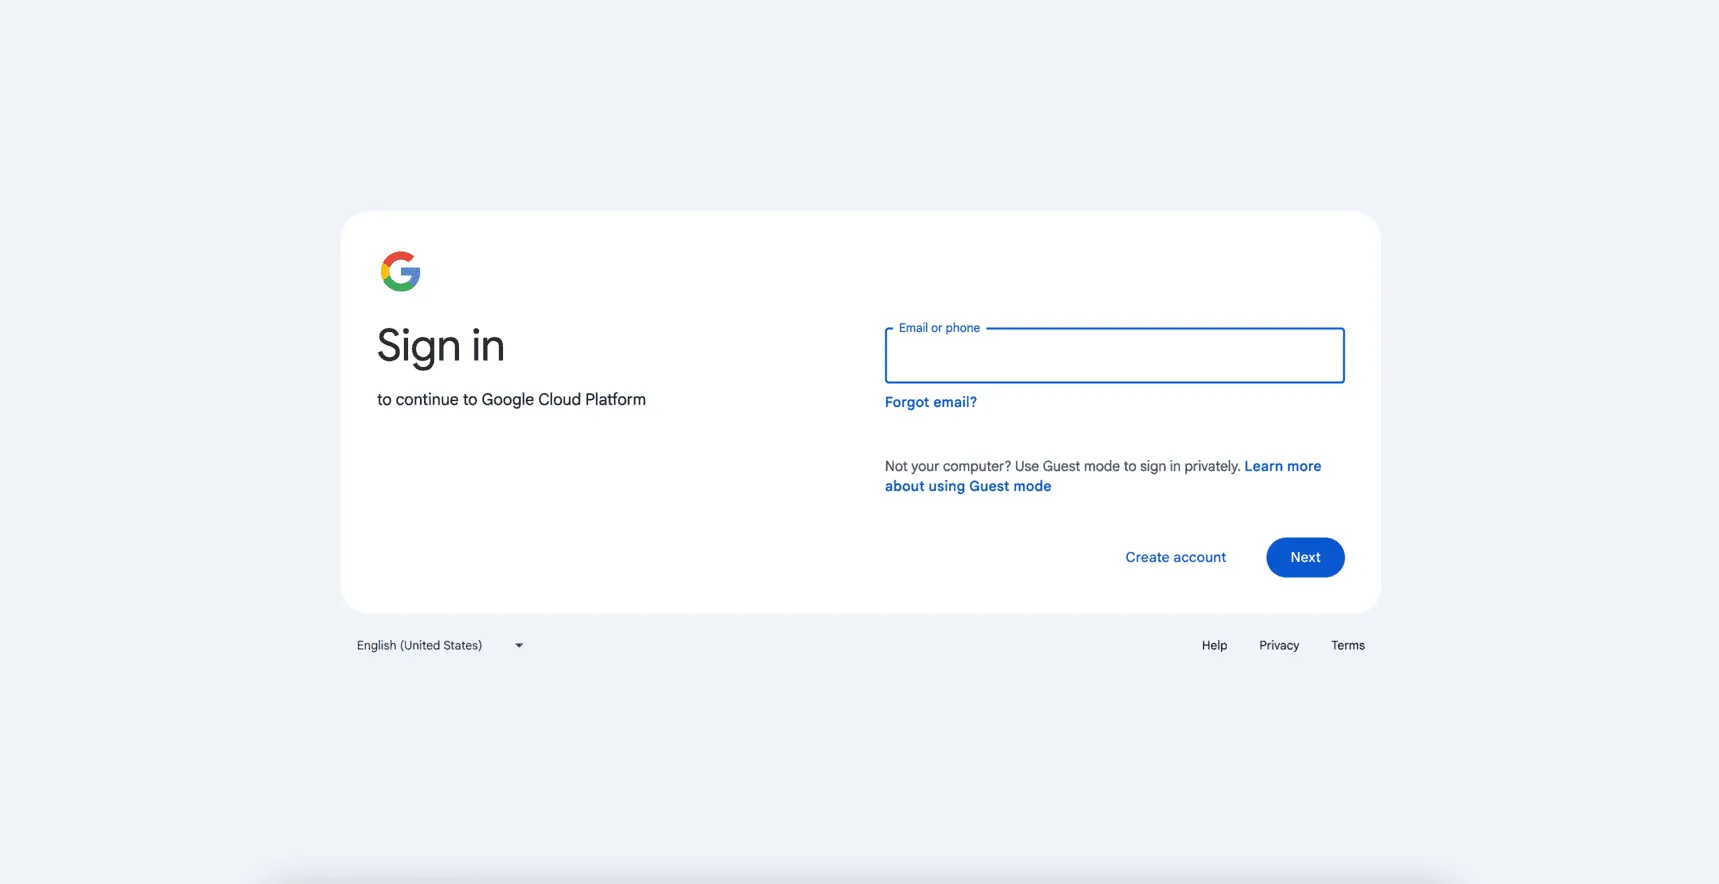
- Sign in with your Google Account.
- If prompted, complete any required security steps, such as enabling 2FA. Why? Google Cloud requires 2FA for enhanced security during third-party integrations.
Step 3: Configure Payment Method
Section titled “Step 3: Configure Payment Method”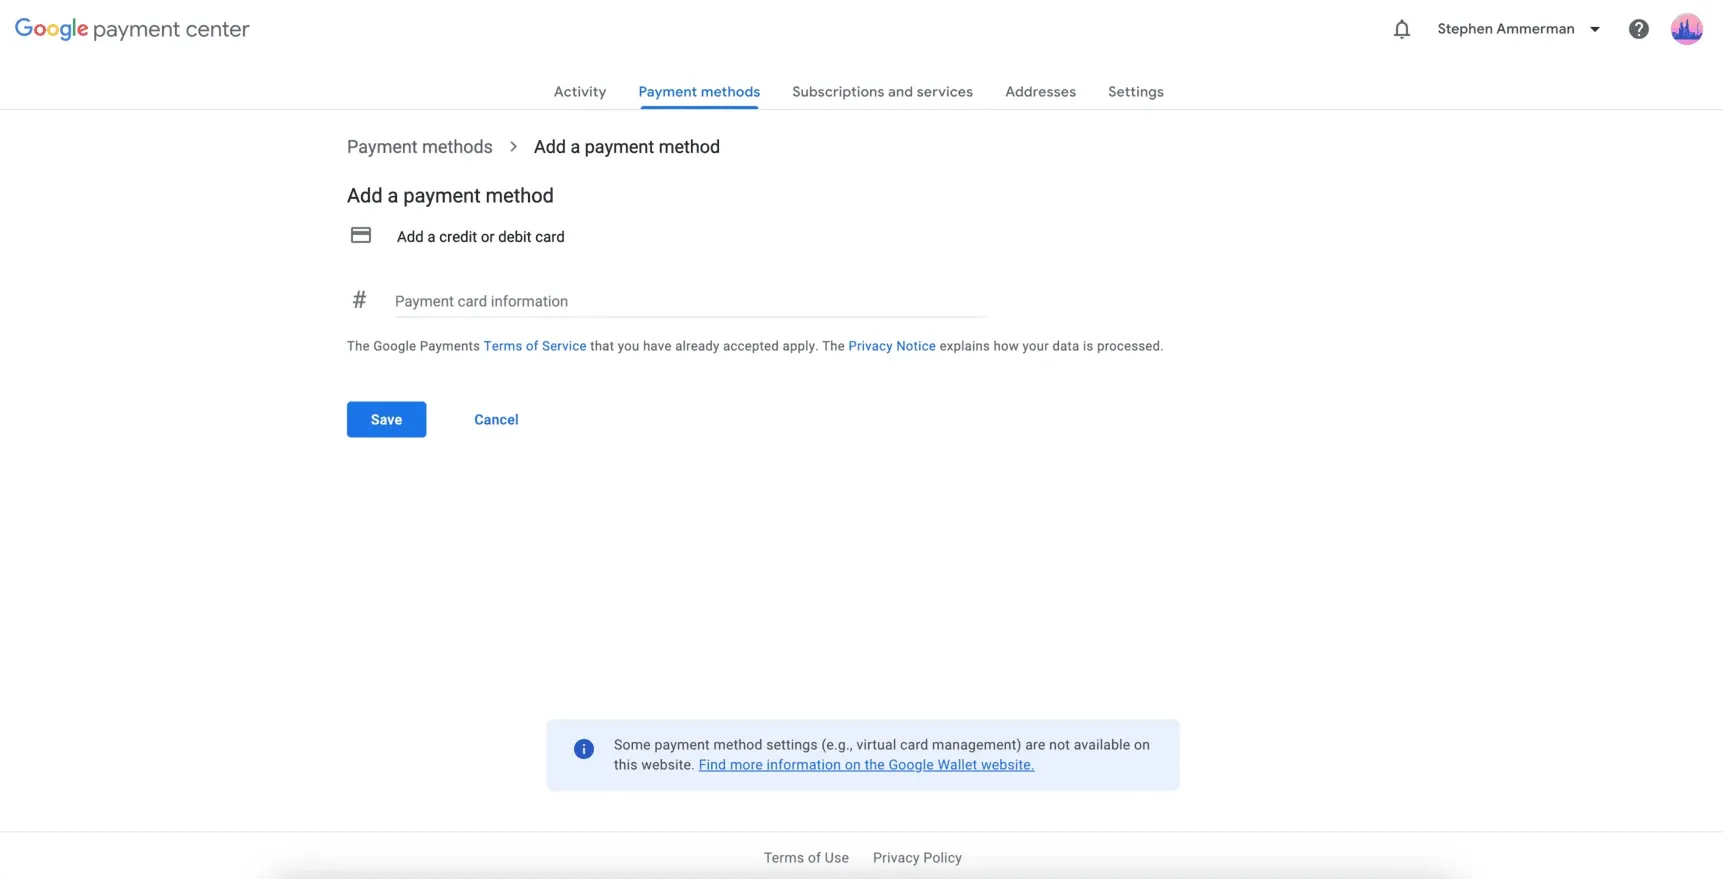
- In the Google Cloud Console, navigate to Billing → Payment methods.
- Add or verify a valid payment method (e.g. credit card).
- Ensure your billing account is linked to the project where you’ll deploy Pasqal. Tip: Update compliance settings if needed for your organization. For billing details, see Google Cloud Billing docs (external) .
Step 4: Subscribe to Pasqal Cloud
Section titled “Step 4: Subscribe to Pasqal Cloud”
- On the Pasqal product page, click Subscribe.
- Review the subscription details:
- Pricing: Pay-as-you-go based on quantum job usage (e.g. qubits, runtime). No flat fees — only charged for what you use.
- Terms: Accept Pasqal’s Terms of Service and Privacy Policy.
- Click Subscribe to confirm and proceed.
Step 5: Create or Link Pasqal Account
Section titled “Step 5: Create or Link Pasqal Account”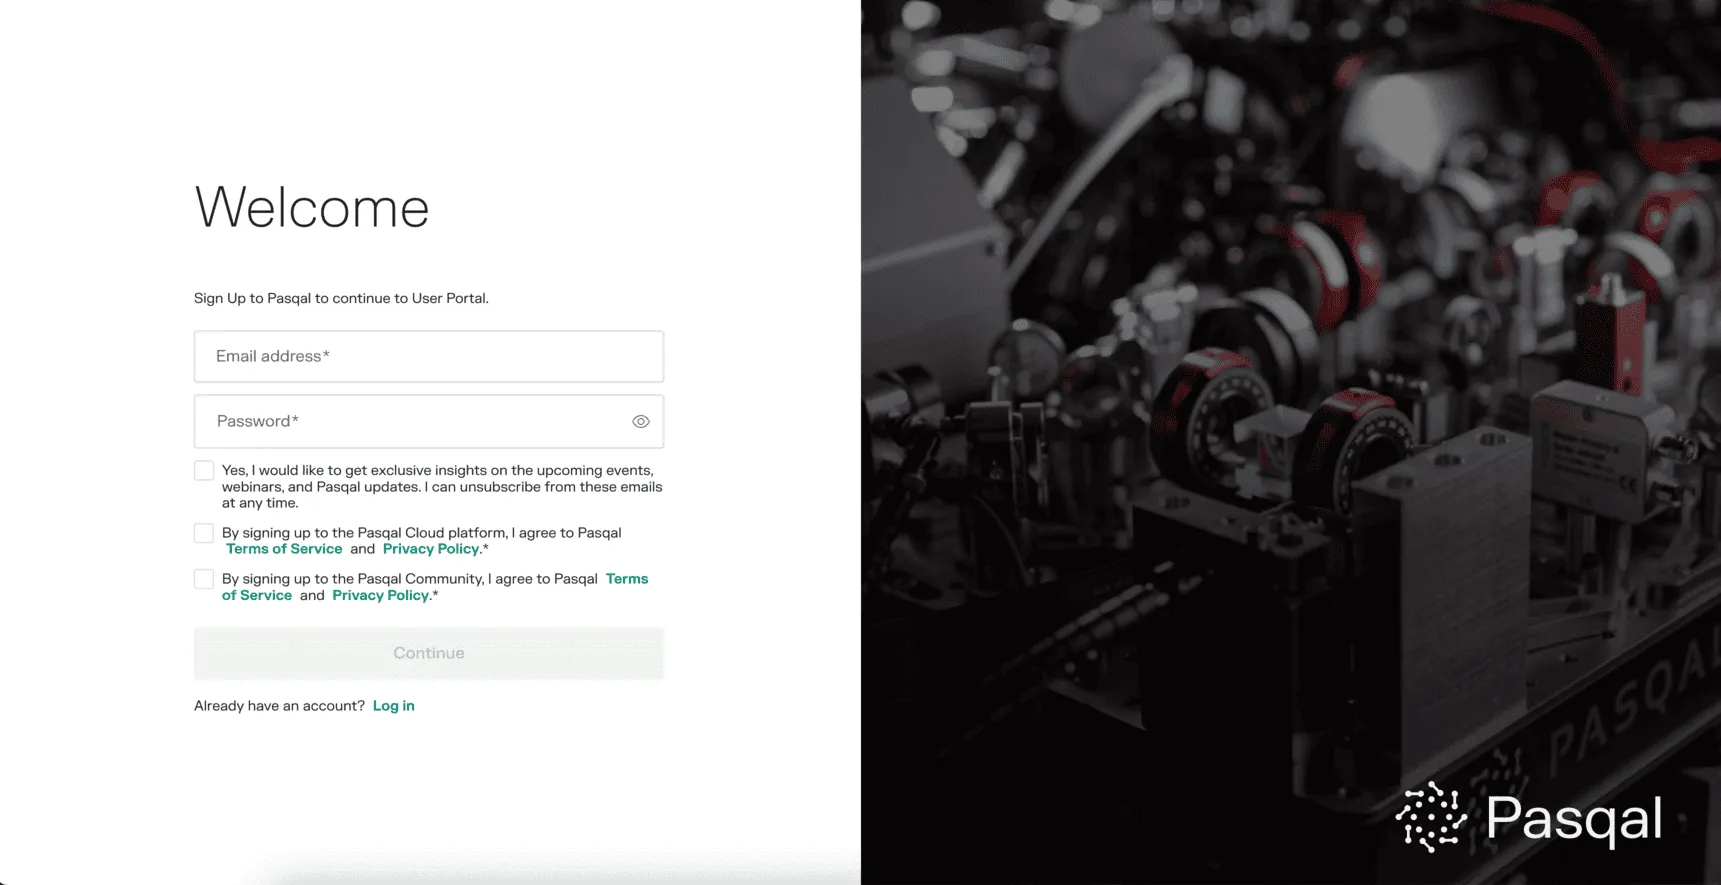
If you don’t already have a Pasqal Cloud account, you’ll be redirected to create one:
- If you don’t have a Pasqal account:
- Enter your email (use the same as your Google Account for simplicity).
- Set a secure password and provide any required details (e.g. organization info).
- Agree to Pasqal’s Terms of Service and Privacy Policy.
- Click Sign Up and verify your email.
- If you have an existing Pasqal account: click Log In.
Step 6: Find your Project ID
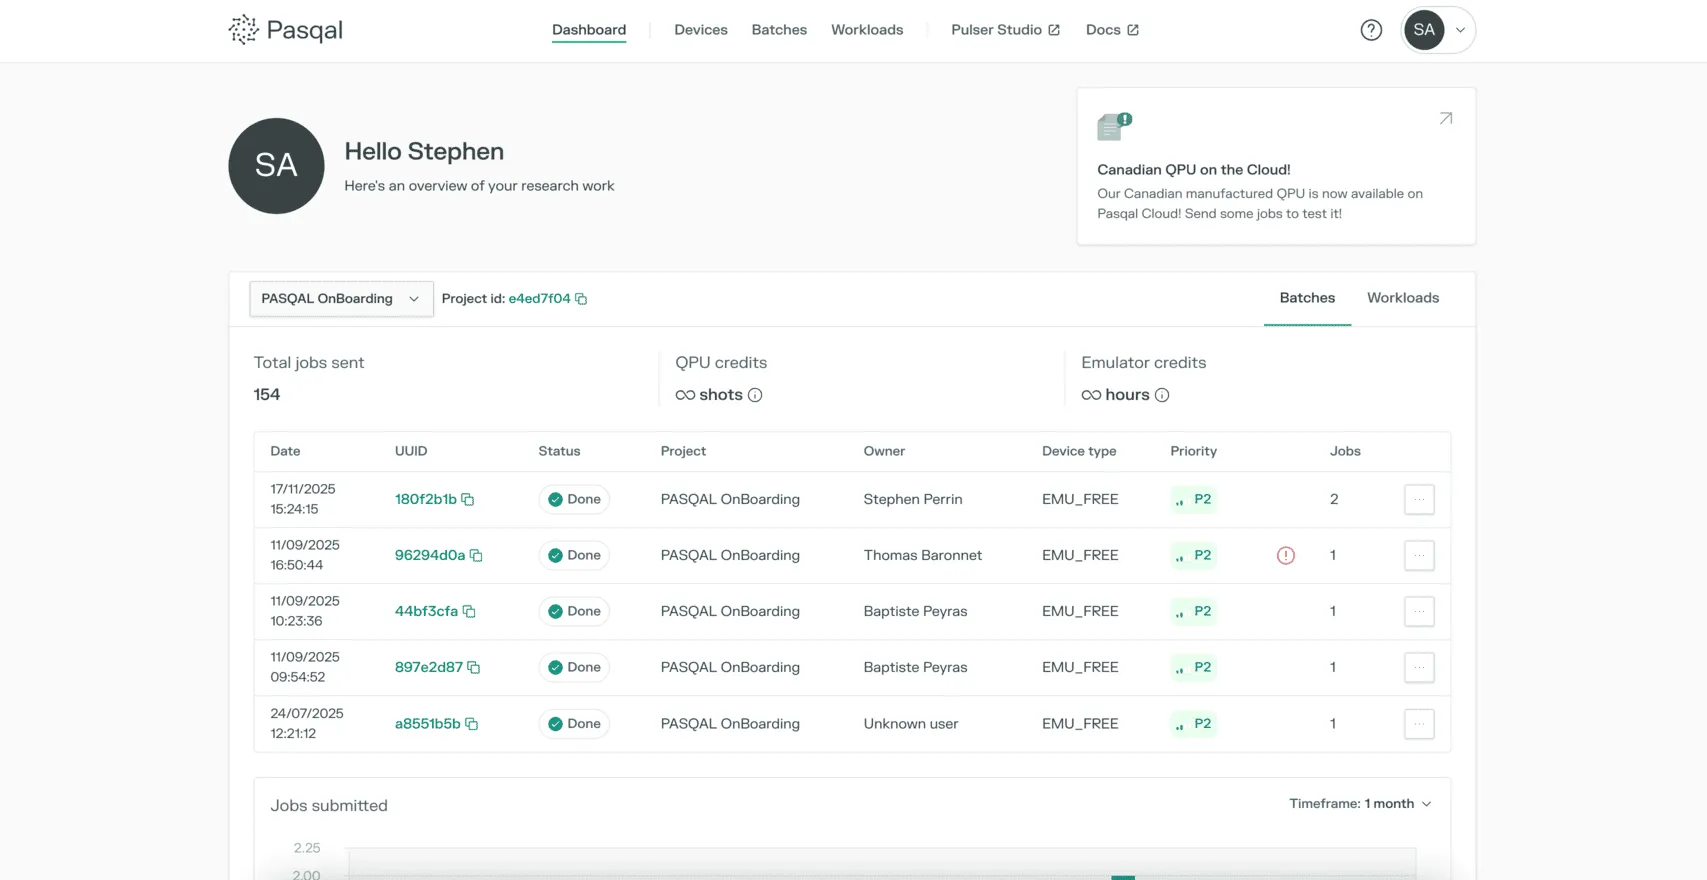
Section titled “Step 6: Find your Project ID”Log into the Pasqal Cloud portal (external) , navigate to your project, and copy the Project ID. You will need this in the next step.
Step 7: Install the SDK and create your connection
Section titled “Step 7: Install the SDK and create your connection”When accessing Pasqal through Google Cloud Marketplace, you authenticate using the standard PasqalCloudConnection connection object. Your Project ID is available in the Pasqal Cloud portal (external) .
-
Install
Install the SDK via pip:
Terminal window # install the Pasqal Cloud SDKpip install pasqal-cloud -
Authenticate
from pasqal_cloud import PasqalCloudConnectionconnection = PasqalCloudConnection(username="your@email.com", # your Pasqal Cloud emailpassword="YOUR_PASSWORD", # your Pasqal Cloud passwordproject_id="YOUR_PROJECT_ID", # from portal.pasqal.cloud) -
Check available backends
# list all backends available on your connectionavailable = connection.fetch_available_devices()print(available) # -> {'EMU_FREE': ..., 'EMU_MPS': ..., 'FRESNEL': ...}
Step 8: Submit jobs using any Pasqal library
Section titled “Step 8: Submit jobs using any Pasqal library”Your connection object works with all Pasqal libraries: QoolQit, Pulser, QUBO Solver, MIS, and QEK. You pass it the same way regardless of which library you use. If you haven’t chosen a library yet, head to the software onboarding section to find the one that fits your use case.
Choose your library
Billing & Usage
Section titled “Billing & Usage”GCP usage is billed directly to your Google Cloud account. Monitor Pasqal charges separately from general GCP costs in the Google Cloud Console under Billing → Cost breakdown. You can set budgets and alerts for spending thresholds.
- To cancel: manage subscriptions in Google Cloud Marketplace under Subscriptions.
- Charges may take effect at the end of the billing cycle.
- For support: contact Pasqal via the Cloud portal (external) .